How to Identify Your Real Skin Type at Home (Oily, Dry, Combination, Sensitive)
Written by Grace Reyes — Independent skincare researcher who reads ingredient labels obsessively so you don’t have to.
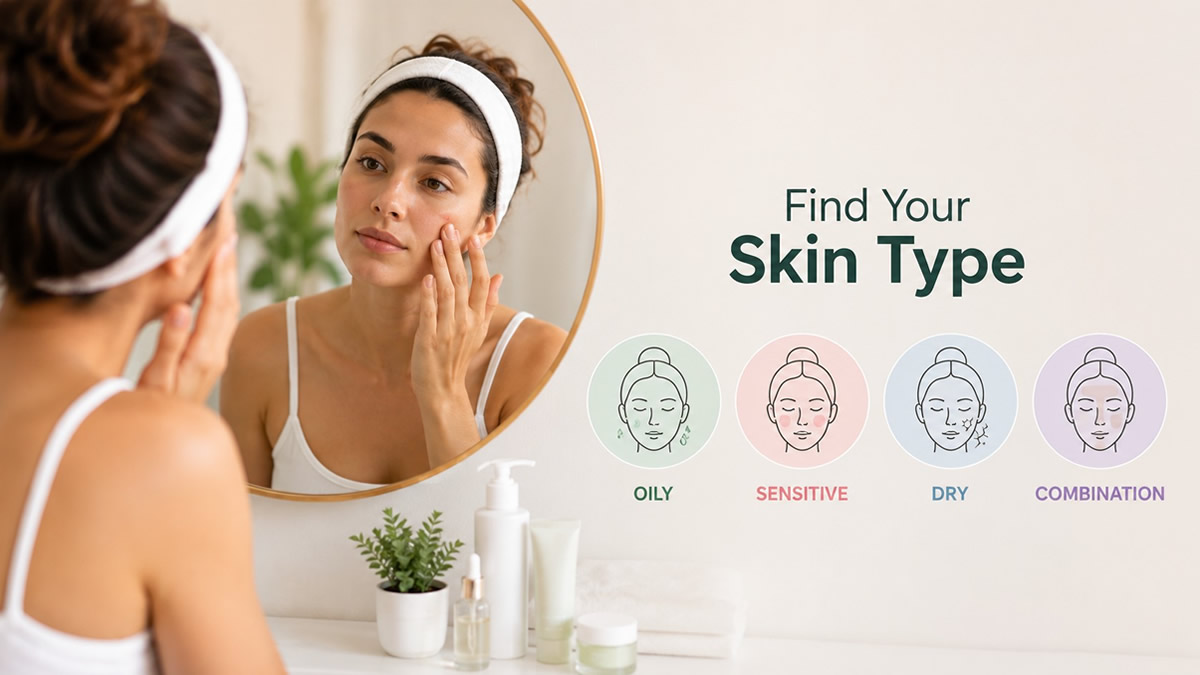
Using the wrong skincare products can lead to clogged pores, irritation or an overproduction of oil. Knowing how to identify your real skin type at home is the foundational step toward building an effective routine. Many people misclassify their skin because temporary environmental factors like dry winter air or harsh cleansers can mimic different skin conditions.
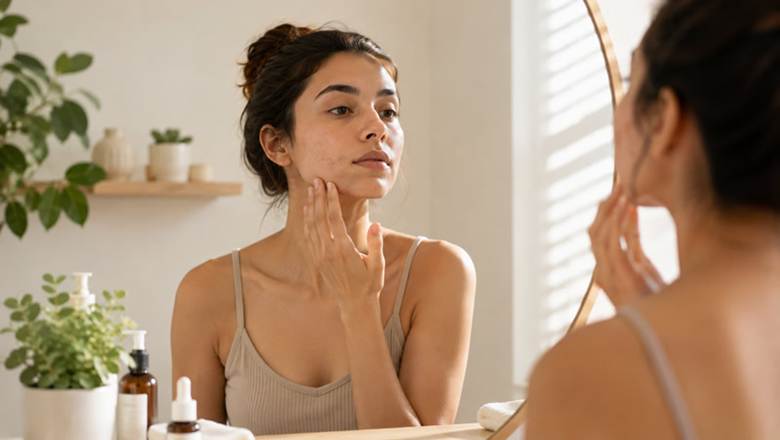
Evaluating natural sebum production 60 minutes after cleansing is the easiest way to understand your baseline. Here’s how to test your exact skin type at home, without any specialised tools.
Skin Type Quick Reference
| Skin Type | T-Zone (Forehead & Nose) | Cheeks | Mid-Day Appearance |
| Oily | Slick and greasy | Shiny with visible pores | Excessive shine; makeup slips off |
| Dry | Tight or flaky | Dull, rough, or itchy | Visible dry patches and fine lines |
| Combination | Shiny and breakout-prone | Normal to dry | Oil concentrated strictly in the centre |
| Sensitive | Redness or stinging | Flushed and reactive | Easily irritated by active ingredients |
Method 1: The Bare-Face Method (Most Accurate)
The Bare-Face Method is the most accurate way to evaluate your skin’s natural sebum production.
- Cleanse thoroughly — Wash your face with a gentle, pH-balanced cleanser to remove makeup, dirt, and excess oil.
- Pat dry — Gently pat your skin dry with a clean towel.
- Wait 60 minutes — Don’t apply any products (no toners, serums, moisturisers, or SPF). Leave your skin completely bare for one hour.
- Observe the results — Examine your skin in a well-lit mirror and pay attention to how it feels.
Method 2: The Blotting Paper Method (Quick Test)
If you’re short on time, blotting sheets can quickly reveal hidden sebum levels.
- Cleanse your face and wait 30 minutes.
- Gently press individual blotting papers against different areas of your face: forehead, nose, chin, and cheeks.
- Hold the sheets up to a light source to inspect oil absorption:
- Lots of oil on all sheets → Oily skin
- No oil absorbed on any sheet → Dry skin
- Oil only on forehead/nose sheets → Combination skin
- Minimal oil with visible red patches → Sensitive skin
Analysing Your Results
1. Oily Skin
- How it looks: Visible shine across your forehead, nose, cheeks, and chin. Pores may appear enlarged.
- How it feels: Slick or greasy to the touch.
- Key indicators: Makeup slips off easily; frequent clogged pores or breakouts.
- Skincare focus: Lightweight, non-comedogenic hydration and sebum control — ingredients like niacinamide or salicylic acid.
2. Dry Skin
- How it looks: Flaky, dull, or rough patches. Fine lines may be more visible.
- How it feels: Tight, uncomfortable, or itchy, especially when making facial expressions.
- Key indicators: Absorbs heavy creams instantly without leaving a greasy layer.
- Skincare focus: Barrier-repairing ingredients such as ceramides, hyaluronic acid, and rich moisturisers.
3. Combination Skin
- How it looks: Shine and excess oil concentrated in the T-zone (forehead, nose, chin), while cheeks stay normal or dry.
- How it feels: Oily in the centre of the face, tight or comfortable on the outer perimeter.
- Key indicators: Breakouts mostly limited to the forehead and nose.
- Skincare focus: Gel-based hydration for the T-zone, richer hydration for the drier areas.
4. Sensitive Skin
- How it looks: Redness, flushing, or visible irritation.
- How it feels: Stinging, burning, or itching when applying standard products or reacting to weather changes.
- Key indicators: Reacts quickly to new ingredients, fragrance, or environmental shifts.
- Skincare focus: Fragrance-free, minimal-ingredient formulas that calm inflammation and strengthen the barrier.
Skin Type vs Skin Condition
It’s crucial to distinguish between your genetic skin type (how much oil your skin naturally produces) and a temporary skin condition (such as dehydration or acne).
- Dehydrated skin: This happens when your skin lacks water, not oil. You can have oily skin that’s simultaneously dehydrated, leading to an overproduction of oil to compensate for tightness underneath.
- Damaged skin barrier: Over-exfoliating or using harsh ingredients can compromise your skin’s natural barrier, leading to sudden sensitivity, redness, and breakouts.
What to Do With This Result
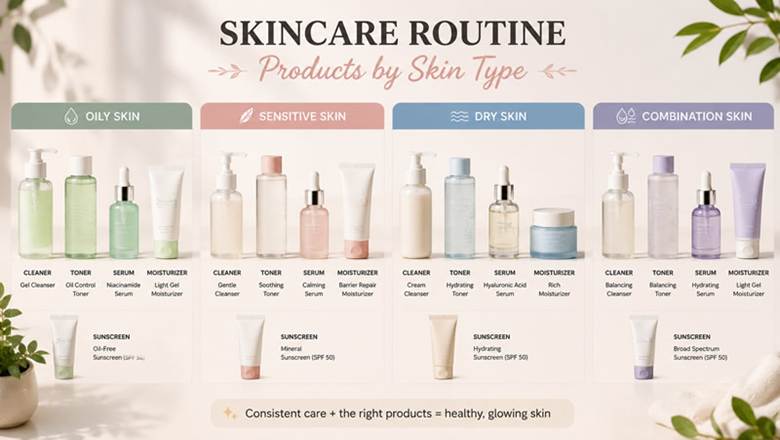
Once you know your skin type, choose targeted formulas rather than multi-purpose products:
- Oily or acne-prone: lightweight gel moisturisers and balancing serums.
- Sensitive or dry: gentle cleansers, alcohol-free toners, and fragrance-free barrier creams.
Misidentifying your skin often leads to counterproductive choices like harsh, stripping cleansers on dehydrated skin, or heavy, occlusive creams on pore-prone skin, which can worsen acne, inflammation, or premature ageing.
Re-test your skin every few months, especially during seasonal transitions, since oil production and hydration needs shift with weather.
Related Reading
For step-one cleansing without irritation: our guide to gentle face washes for sensitive skin.
If your skin feels tight or flaky after testing: our review of face creams for dry skin.
For lightweight hydration that won’t clog pores: our picks for oily-skin moisturisers.
Protecting your barrier daily: Best Mineral Sunscreens for Acne-Prone Skin (2026).
To balance your skin post-cleansing: our picks for alcohol-free toners for sensitive skin.
Frequently Asked Questions
Q1: How can I tell if my skin is dehydrated or just dry?
Dry skin lacks natural oil, while dehydrated skin lacks water and feels tight even if it’s oily.
Q2: Will using hot water alter my skin test results?
Yes, hot water strips natural oils and can trigger temporary tightness or a rebound in oil production.
Q3: Why does my skin type change between summer and winter?
Summer humidity increases natural oil production, while cold, dry winter air strips moisture and causes dryness.
Q4: Can I have combination skin if my cheeks are oilier than my T-zone?
Yes — any pattern where different areas of your face show contrasting oil levels counts as combination skin.
Q5: How long should I wait before re-evaluating a new skincare routine?
About 4 weeks, to allow a full skin cell turnover cycle before judging results.
Disclaimer: The content on The Glow with Grace is for educational and informational purposes only. It is not intended as a substitute for professional medical or dermatological advice.
Explore more skincare guides on The Glow with Grace homepage.